Program in Startup folder not starting on Windows startup
If a program in the Startup folder is not starting or launching on startup in Windows 11 or Windows 10, follow any of these methods to resolve the issue: Some of them will need you to have admin permission to complete the setup.
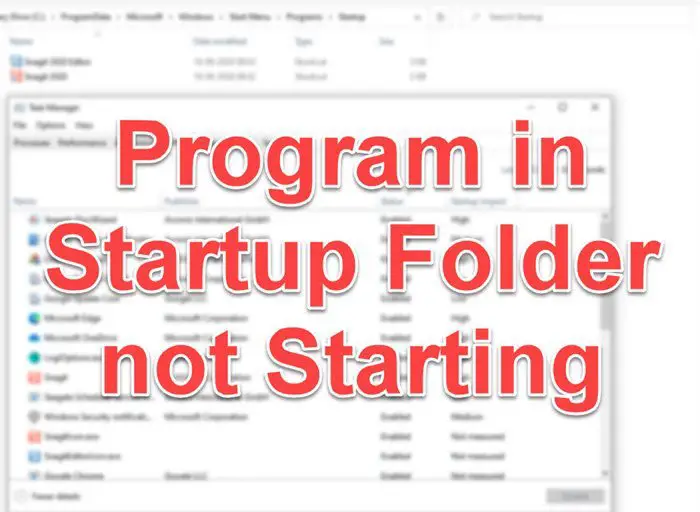
1] Check Task Manager for Startup entries
Right-click on the taskbar, and select Task ManagerSwitch to the Startup Tab and locate the Program in the listCheck if the status is disabled.If yes, then right-click on it, and choose Enable from the menu
Restart the computer, and see if the Program is now available as soon as you login to the computer.
2] Add the Program to Startup Folder
There are two Startup folders locations—Current User Startup and All Users Startup Folder. Once you place a shortcut inside it, the programs will be launched automatically. To do this:
Open Run prompt (Win + R)Type shell:common startup and press the Enter keyIt will open the Startup FolderNext, drag and drop the shortcut of the Program you wish to launch in the folder.
Read: How to make a Program run on startup.
3] Add Program in the Startup using Registry
The Registry is the highest authority in a Windows PC, all the settings you change or anything you do affects the Registry. All the settings of the Windows Native apps and even all the third party software are present in Registry. You must not play with Registry unless and until you know and sure of what you are doing. Follow the steps to sort the Startup folder issue:
Open Registry Editor by typing Regedit in the run prompt followed by pressing the Enter key.Navigate to
Right-click on the empty space in the editor and make a new String value entry.Name the string value as the Program you want to run.Edit the entry and put the value in the path of the Program’s executable file.Save and restart the PC.
Read: Windows Registry Startup Locations.
4] Force the elevated Program with Task Scheduler
Some Programs need admin permission every time to start. The UAC feature in Windows will block if the Program doesn’t have the correct permission. You may try to change the UAC to ascertain that, and if that’s the case, it is best to create a shortcut that will allow it to launch with admin permission all the time.
Press the start menu, and click on the Search bar.Type UAC and open Change User Account Control settingsMove the slider to the bottom and confirm changes.Reboot the computer to check if the Program can launch.
If yes, then you can create a task and launch the Program with admin permission. That way, you will not have to face the UAC every time.
Open Task Scheduler by typing taskschd.msc in the Run prompt followed by pressing the Enter keyCreate a new Task and make sure to select two options — Run only when the user is logged on, and check the box which says Run with Highest Privileges.Name the task, and save it.
Next time you log in to your account, the Program will automatically launch.
5] Add Exception to Default Firewall
Some Programs need to connect to an intern as soon as they start. If the Firewall is blocking such programs, then the Program may not launch or get blocked. If the Program you wish to launch has such a requirement, make sure to add it as an exception to the Firewall. Type firewall in the start menu, and select Windows Defender Firewall from the list.
Click on Allow an app or feature through Windows Defender FirewallThen click on Change Settings and then on Allow another app buttonUse the browser button to add the ProgramYou can also configure the Network types to allow it to work through an only private network
6] Setup Batch File to Launch Programs
If you want to launch a bunch of programs at the Startup, and want a simple method, then you can create a batch file and set it to execute on the Startup. However, stay warned that it will attract UAC, and you will have to allow each of them manually.
Open Run prompt (Win +R) and type notepad. Press the Enter key to open itCopy the below-mentioned code and save it as a BAT file
So for example, if I want to launch Snagit, the path I need to center will be You can add more, but each of them should be listed in a new line. Finally, create a shortcut of the BAT file, and place it in the Startup Folder. If the Program you want to use doesn’t start as you log in to the computer, you can use any of the methods to make sure it starts.
How do I see all startup programs?
You can view all startup programs in the Task Manager. Open the Task Manager (Ctrl + Shift + Esc keys) and then go to the Startup tab. There you will see all the startup apps. You can manage your startup apps here. If you want to prevent a particular startup app to start automatically on system startup, right-click on it and select Disable.
How do I force an application to start on startup?
You can make any application start on startup by placing its shortcut in the Startup folder. In addition to this, there are other ways too by which you can make an application to start on startup. You can use a free software, modify Windows Registry, and use the Task Scheduler app. Read: Task Scheduler not running or starting programs.