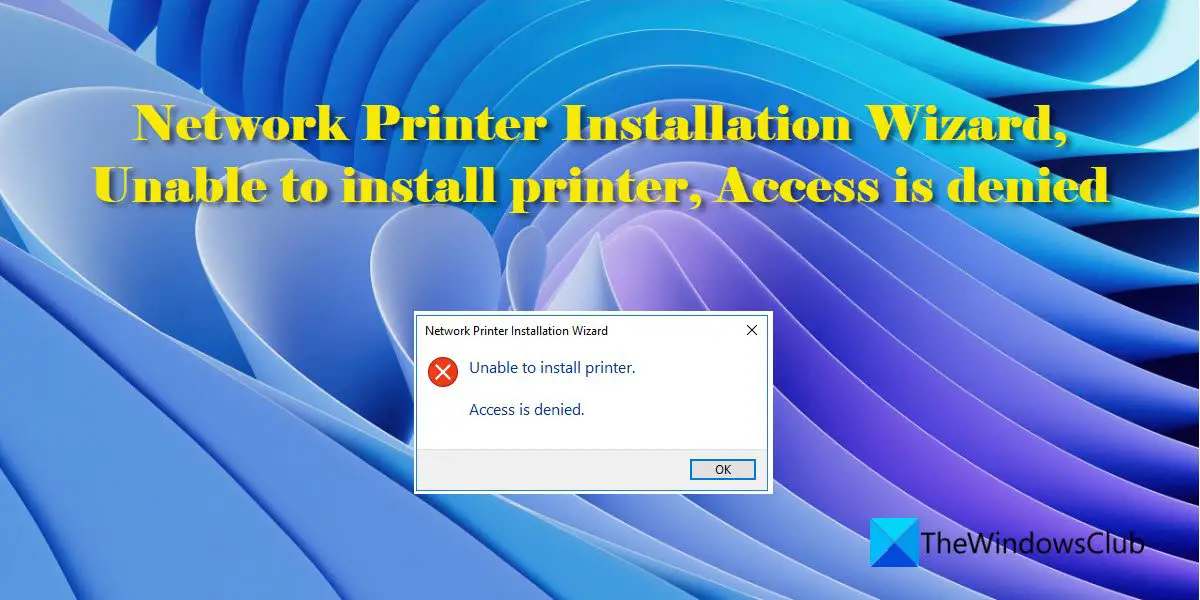
Network Printer Installation Wizard, Unable to install printer, Access is denied
If you see Unable to install printer, Access is denied error on your Windows computer, then the following suggestions may help resolve the issue: Let us take a detailed look at each of these solutions one by one.
1] Run Printer Troubleshooter
Run the Printer Troubleshooter and see if that helps in any way. Read: How to reset Printer to default factory settings.
2] Uninstall the PrintNightmare security update
PrintNightmare is a serious security defect that affects the Print Spooler service on Windows 10. When exploited, it allows remote code execution and gives unauthorized file system access to attackers. If you’ve had this update installed on your Windows PC, try rolling it back to see if it fixes the issue. Read: Network Printer errors 0x00000002, 0x0000007a, 0x00004005, 0x00000057, 0x00000006
3] Install MS Patch to fix PrintNightmare Vulnerability
If the above solution doesn’t work, try installing the KB5004945 patch. You can look for the patch in Windows Updates available on your PC, or manually download the patch from Microsoft Update Catalog. After installing the patch, you’d be required to have administrative privileges to use the Point and Print feature in the Windows OS. Read: How to repair Print Spooler in Windows.
4] Modify the Group Policy settings
The error may occur if there’s a third-party driver installed on your printer server. Regular users and members of the Power Users group are not allowed to install a shared printer with a third-party printer driver on Windows Server 2003. You need to modify the Group Policy settings for the Group Policy object (GPO) that has printer policies defined for the domain users on the domain controller If you do not have administrative privileges, you have to tweak the Group Policy settings in order to fix the problem. A] Configure the load and unload device driver policy for the members of the Power Users group: B] Turn off Disallow installation of printers using kernel-mode drivers policy: c] Disable the Point and Print Restrictions policy: Once this is done exit the Group Policy editor and then open Command Prompt. In the Command Prompt window, type gpupdate /force, and then press the Enter key. Tip: you might want to also check if the DNS is properly configured or if there’s a DNS issue on the printer server. After disabling the Point and Print Restrictions, use Windows Point and Print feature to select any shared printer to which you have access.
Why can’t I connect to a network printer with Windows 11/10?
There could be many possible reasons why you may not be able to connect to a network printer. Start by checking if File and Printer Sharing is turned on under the Network Adapter properties. Next, make sure that Network Discovery is enabled on your Windows 11/ 10 PC. Then try fixing the error by temporarily disabling your antivirus and updating your printer’s drivers. If nothing helps, use the Printer troubleshooter to automatically fix printer issues.
How do I find a specific printer on my network?
Click on the Start button located in your taskbar. Go to Settings > Bluetooth & devices > Printers & scanners. Click on the Add device button next to the Add a printer or scanner option. Wait for the system to show nearby printers. You can also see all your network-attached printers by typing Get-Printer in Windows PowerShell. Read Next: The printer icon not showing in Devices and Printers in Windows.
