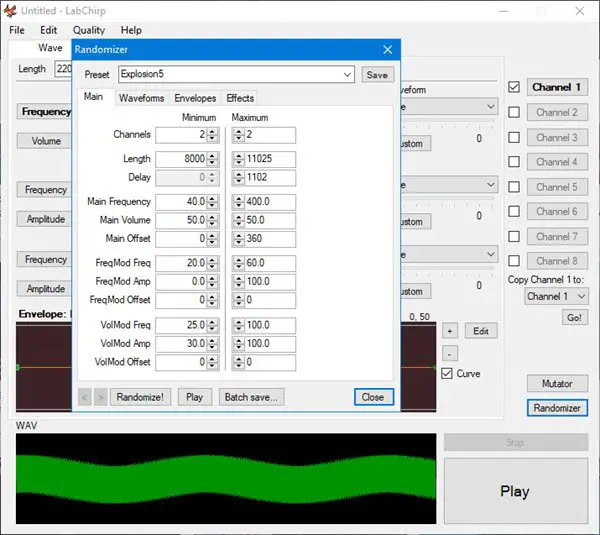
Now, we’re not game developers, but we can see why this tool would be needed after giving it a test run during the past week. We should also point out that the tool doesn’t have the best user interface in terms of looks, but since you’re a developer, the looks shouldn’t matter.
LabChirp free sound effect generator software
First up, if you have experience creating music for movies, video games, and other content via software, then you should not find it difficult to get the most out of LabChirp. Let us take a look at its features.
1] File Operations
One thing is for certain; you’ll be using the file operations section more often than you might expect. This section allows the user to locate files on their hard drive for editing, and the option to save your work after completion. To create a new project, we suggest clicking on File, then on the word New. Alternatively, you can use CTRL + N to create a new project without ever having to fiddle with the mouse. It’s faster. Therefore, we’d recommend going this route. To load a previously saved sound, click on File > Open, then search for the sound file you want. The alternate and better way to do this, is simply clicking on CTRL + O. After adding the final touches to your custom-made sound, you’ll want to save it right away. To get this done, click on File > Save, or CTRL + S. The option is there to select Save As or Save and Export.
2] Quality
To get the best out of any audio, the quality needs to be top notch, so thankfully this tool supports 22050 Hz and 44100 Hz at 8-bit and 16-bit. You can change the quality by clicking on the tab with the same name. The dropdown menu should deliver everything you need, so just make a choice.
3] Waves
Every sound in LabChirp is generated through wave calculations. We understand that three waves play a unique role to create sound, and they are called Main Wave, Frequency Modulation, and Volume Modulation. All sections are available on the main screen, so just use your mouse to make the changes in each before clicking on the big play button at the bottom.
4] Envelops
This option allows the user to freely control a parameter of the sound over time. Basically, it means that creators will be able to increase the frequency gradually or lower the volume until it fades out. Press the plus button to have the frequency increased, or the minus button to decrease it.
5] Effects
To spice up your sound, you’ll want to add some effects, and guess what? LabChirp provides this option. What’s interesting, however, is the fact that we did not come across any way to add third-party effects. The only way is to use what is available, and that means for a limited scope. Then again, if you’re a professional with tons of experience, you wouldn’t be using this tool in the first place.
6] Settings
When we look at the Settings area, then, users will realize that there aren’t much to do. Folks can remove the splash screen on startup, and even the Trim trailing silence. In terms of the Envelop editing, there are two modes here in the form of Mode A and Mode B. Mode B is selected by default, but if you’re not interested, then simply change it to Mode A. From the Appearance tab, users will be able to change the colors Background, Line, Point, and WAV. You can download LabChirp directly from the official website.
