How o use Voice Recorder in Windows 11/10
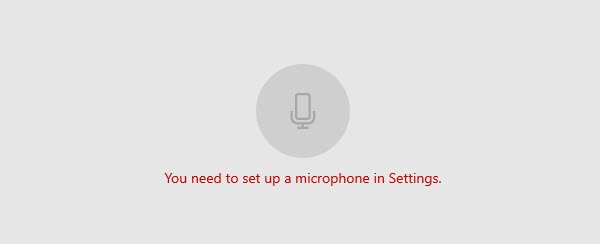
Type ‘Voice Recorder‘ in the search box to run the Voice Recorder app in Windows 11/10. To use the app, you first need to set up the Microphone. Else you may see this screen.
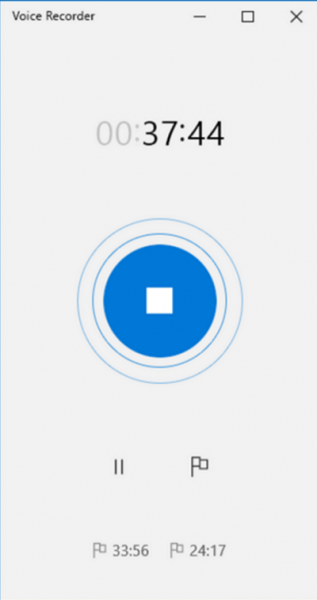
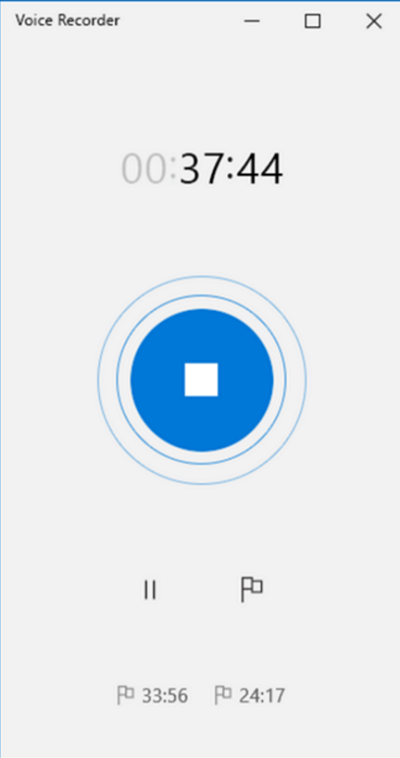
Having done that, read on. Now, if you are attending a lecture or have just come across your favorite music track and would like to record it, Hit the ‘Record‘ button clearly visible in the bottom left bottom corner to enter the voice recording mode.
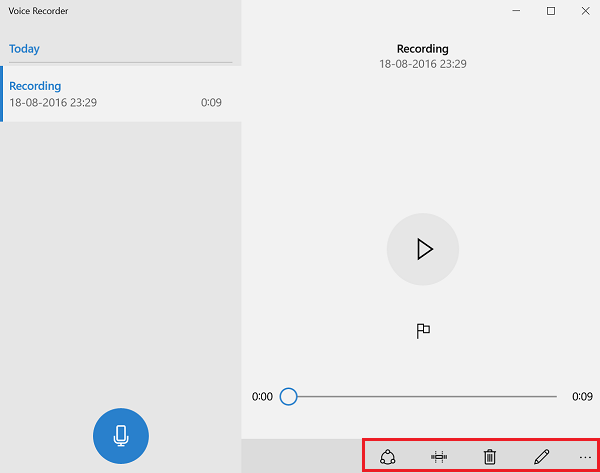
When you have finished recording sound using the voice recorder app for Windows 11/10, you can go to the main software screen to get access to editing options for the voice recordings, like: The recordings are autosaved and stored in your Documents folder for easy access.
Right-click the voice recording and you will find an option to open the folder where all your audio recording files are saved as m4a file format on your Windows computer. You can start, pause, and resume recording in one click. You can playback, trim, rename, and delete your recordings and also mark key moments in the recording. You can also easily share your recordings with friends and family, or send recordings to other apps. Related error: Voice Recorder couldn’t save this recording. You should, however, note that the Voice Recorder for Windows 10 does not come with an option to change the audio output format. You’d need to use an audio converter if you like to transcode m4a to wav format, for instance. In all, the app is pretty easy to use and features the ability to autosave and bookmark. This UWP app for PC and Tablet is also available for download at the Windows Store.