Reduce Explorer Border Padding thickness
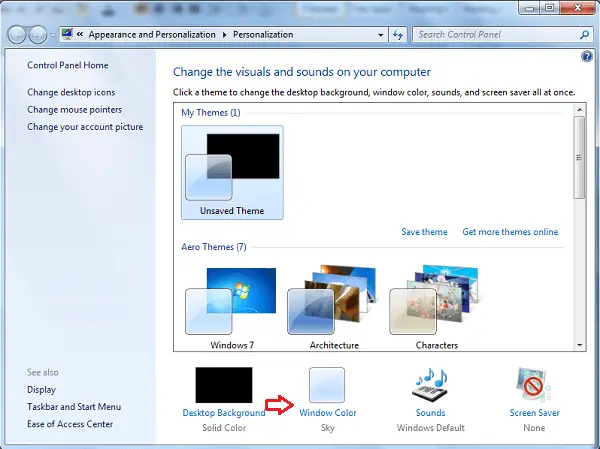
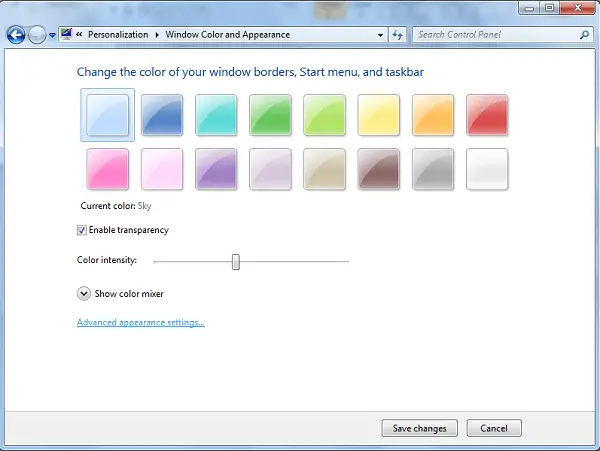
All windows in Windows 7 have thick borders since Transparency shows off quite well on them. But if you don’t like such thick borders, and would like to reduce or trim them, right-click on Desktop and open select Personalize. Click on Windows Color & Appearance. Here click on Advanced Appearance Properties.
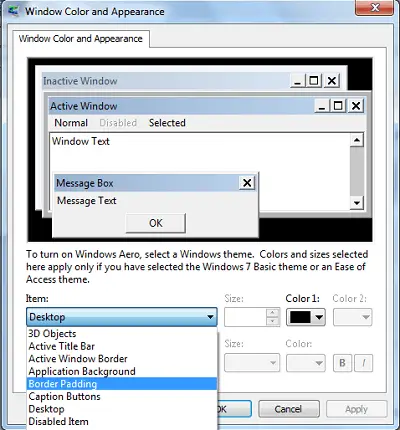
Here from the “Item’ drop-down menu, select Border Padding. Change the default value from 4 to say, 1. That’s it! Microsoft removed these settings in Windows 8, because they primarily affected the Classic themes, and since Windows 8 did not support Classic themes, these were not of much use now. All themes are now based on Visual Styles. Windows 8 users may want to see this post on how to change Desktop Windows Metrics and Border Width. In Windows 8.1, you can also use Ultimate Windows Tweaker 3.0 to change the Window Padding Size easily. You will find this tweak under Customization > File Explorer. You can also our freeware Ultimate Windows Customizer. It lets you customize Windows Explorer, Context Menus, Libraries, Logon Screen, Start Orb, Taskbar, Windows Media Player and many areas of Windows 7 and Windows 8.