Create a Digital Signature in Excel
First things first, to create a digital signature, you must have a signing certificate, which proves identity and verifies the authenticity of the document. So, when you send a digitally signed file or a document, you invariable send the certificate and public key associated with it. These signing certificates are issued by a certification authority and can be revoked. Generally, the validity of the certificate holds for a year, after which, it must be renewed. Let’s cover the steps to create a signature line in Excel. Position your cursor at a location where you want to create a signature line in an Excel file. Go to the Insert tab under the Ribbon menu. Move to the Text section. Expand the Signature Line drop-down menu under it.
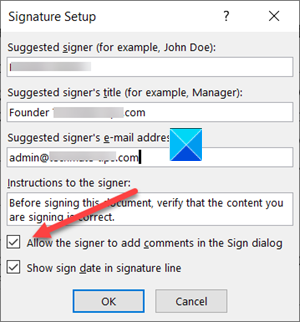
Select Microsoft Office Signature Line option. In the Signature Setup dialog box, type information that you want to display underneath the signature line.
Select the following checkboxes.
Allow the signer to add comments in the Sign dialog box.Show sign date in the signature line.
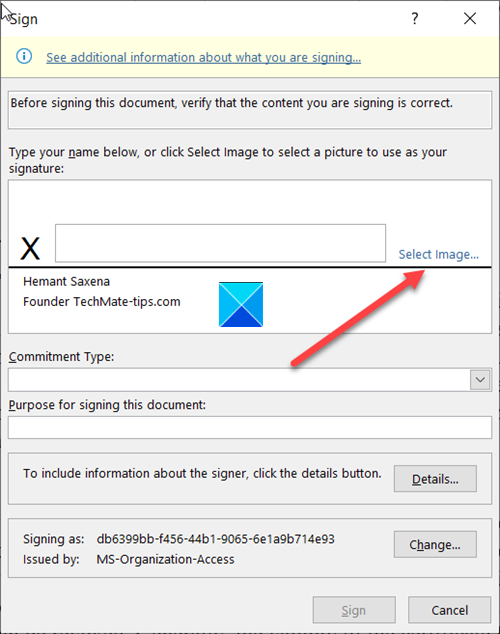
Add a visible representation of your signature and a digital signature. In the file, right-click the signature line.
From the menu, select Sign.
If you have a printed version of your signature, type your name in the box next to the X. Alternately you can select an image of your written signature, click Select Image.
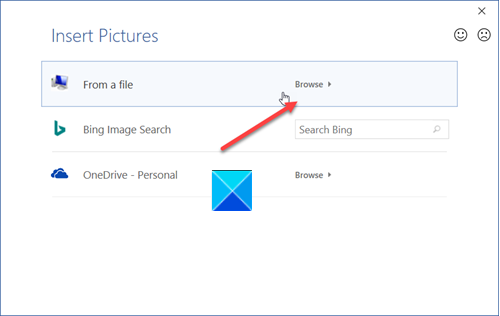
Then, in the Select Signature Image dialog box that appears, browse to your signature image file and select it.
To remove the digital signature, open the file that contains the signature. Right-click the signature line.
From the list of options displayed, choose Remove Signature. When prompted, click Yes. TIP: These posts will show you how to add a digital signature in Word, PowerPoint, and Outlook. Hope it helps!