Remove the Write Protection on a Disk
The following tutorial aims to help you remove the Write Protection on a Disk in Windows 11/10/8/7. The exact message would be:
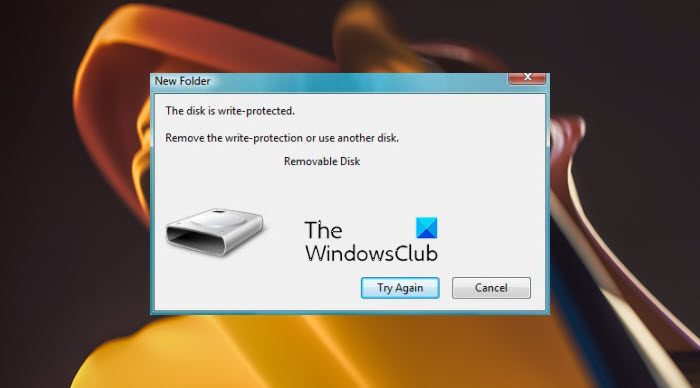
The disk is write-protected, Remove the write-protection or use another disk
1] Is There A Hardware Lock?
Some external devices such as pen drives carry a hardware lock in the form of switch. You need to see if the device has a switch and if it is pushed to protect the device from accidental writing. Remove the device from the computer and if the switch is in on state, push it back to disable write protection. If the device switch is off and you still get the message or if there is no hardware lock on the device, confirm with your system administrator to see if he has blocked USB ports. If the USB port is not blocked by the admin, let us check the Windows registry to see if it has been changed to lock the USB ports. Remove: Media is Write Protected message.
2] Edit The Registry
To check if the registry key is modified by some reason, After changing the registry value, try to save anything to the external drive that is giving you the problem. If you are still receiving the message, the problem may be with the device. Try attaching another external storage device and see if it works. The next section explains how to troubleshoot the message: Disk Is Write Protected – assuming the problem lies with the device.
3] Boot into Safe Mode and Format the Device
You will not be able to format the device if you try to do it after booting into Windows normally. You will receive the same message saying a device is write-protected. To counter this: After the format, try to save anything to the disk. If you are able to save, the problem is fixed. If not, and if you wish, you can proceed with the next troubleshooting step at your own risk. Read: How to boot Windows in Safe Mode.
4] Destructive Write Testing
Destructive write tests often solve the problem when the file tables of external storage devices are corrupt. Though you will be able to access the device in most cases, the chances that you will find old data on those devices are slim. Almost all destructive write tests destroy the file allocation table completely and create a new one. You may also need to format the disk before you can store any data on it – after the testing. There are some good third party software that helps you achieve this. I would recommend HD Tune. The free version is enough to get you your disk back working. However, do not expect to recover old data. You may try data recovery tools after the destructive write testing, but as said earlier, chances would be slim. You might want also to read, The Disk Is write-protected for Removable Disks. This post talks about modifying another registry key and how to use the command prompt to remove the Write Protection. This explains how to remove the message saying Disk is write-protected. If you need further guidance, please leave a comment mentioning the type of disk and operating system you are using. Check this post if you need to Write protect USB flash drives in Windows.