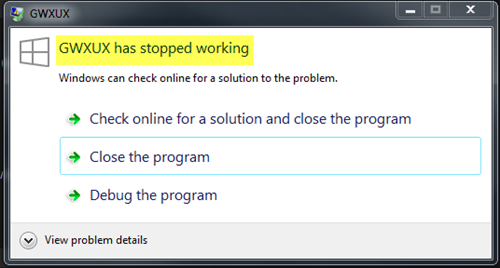
GWXUX has stopped working
1. Disable it inside Task Scheduler
We need to disable gwxux.exe to run from the Task Scheduler. For this, we need to undertake the following steps. First of all, start by searching for the Task Scheduler in the Cortana Search box. Click on the appropriate result that you get.
Now, on the left panel, from the Task Scheduler Library, navigate to Microsoft > Windows > Setup > gwx. When you select the GWX folder, you will get two tasks listed under that folder. Select both of those tasks and disable them permanently. Reboot your computer for the changes to take effect and check if your issue is now fixed or not.
2. Uninstall KB3035583 Windows Update
Start by searching for the Control Panel inside of the Cortana Search Box. And then select on the appropriate entry to open Control Panel. Alternatively, you can hit the WINKEY + R button combination to hit the Run utility. Now, type in Control inside it and just hit Enter. This will open up the Control Panel on your computer. On the search field in the top right part of the window, search for View Installed Updates. Under the menu labeled as Programs and Features, click on the link that says, View Installed Updates. It will now show up all the list of updates installed on your computer from Windows Updates. Search for an update called as KB3035583. Select it, and you will notice an uninstall button to pop up on the top portion in the sub-menu ribbon as shown in the screen snippet below. Select that to uninstall that update.
When your computer is done with uninstalling that update for you, just Reboot your computer for the changes to take effect.
3. Using System File Checker
To run the System File Checker, press WINKEY + X button combo or right-click on the Start button and click on Command Prompt (Admin) or just search for cmd in the Cortana search box, right click on the Command Prompt icon and click on Run as Administrator. Click on Yes for the UAC or User Account Control prompt that you get. Then, the Command Prompt window will finally be open.
After that, type in the following command- And then hit Enter. Let it scan the whole drive for any errors and then Reboot your computer to check if it has fixed the error with the GWXUX.EXE file. All the best.