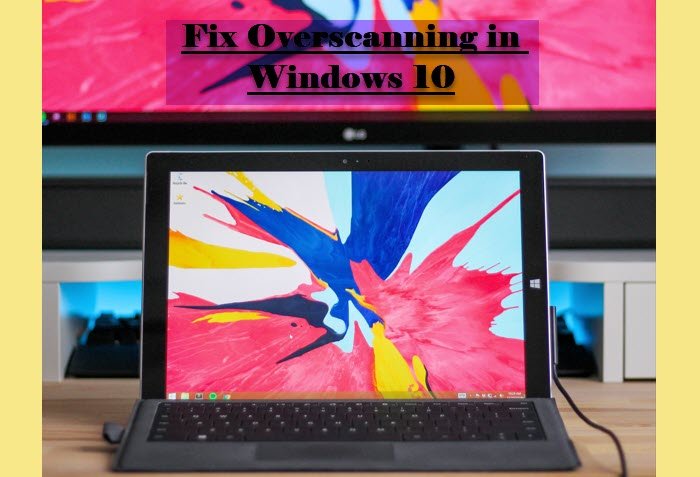
Fix Overscan in Windows 11/10 to Fit to Screen
These are some easy ways to fix Overscan in Windows 10 to Fit to Screen. Let us talk about them in detail.
1] From Graphics Software
You may have Intel, AMD, NVIDIA Graphics. All three of them have their own Control Panel, so, you have to alter it to fix the error.
For AMD
If you have AMD Graphics, follow the given steps to alter the settings.
For Intel
If you have Intel Graphics, follow the given steps to alter the settings.
For NVIDIA
If you have NVIDIA Graphics, you need to visit its Control Panel to adjust your screen. So, without further ado, let us see how to resize the screen if you have NVIDIA graphics. This will fix the overscan issue.
2] Change Windows 10 Resolution
Another thing you can do to fix the error is to change Windows Resolution. You should experiment with different screen resolutions to find the one that works perfectly with your Monitor. So, follow the given steps to change Windows Resolution. You should first set it to Recommended and see if it fixes the issue. If the issue persists, try different resolutions to find the perfect one.
3] Change TV Settings
You should try to change TV Settings to find the perfect aspect ratio. For that, click on the menu button and use the arrow keys to navigate around settings to change the Aspect Ratio. Hopefully, these solutions can fix the error for you.
HDMI Overscan in Windows
If you are not able to fix the error by altering your display settings, then the issue can be because of your HDMI cable. So, disconnect and reconnect your HDMI cable and see if the issue is fixed. If the issue persists, try replacing your cables. It will rectify the error.
How to turn off Overscanning in Windows?
There is no button or setting to turn off Overscanning, but with these solutions, you will be able to fix it easily. Check your Graphics software display settings, Change Resolution, TV settings, and see.

