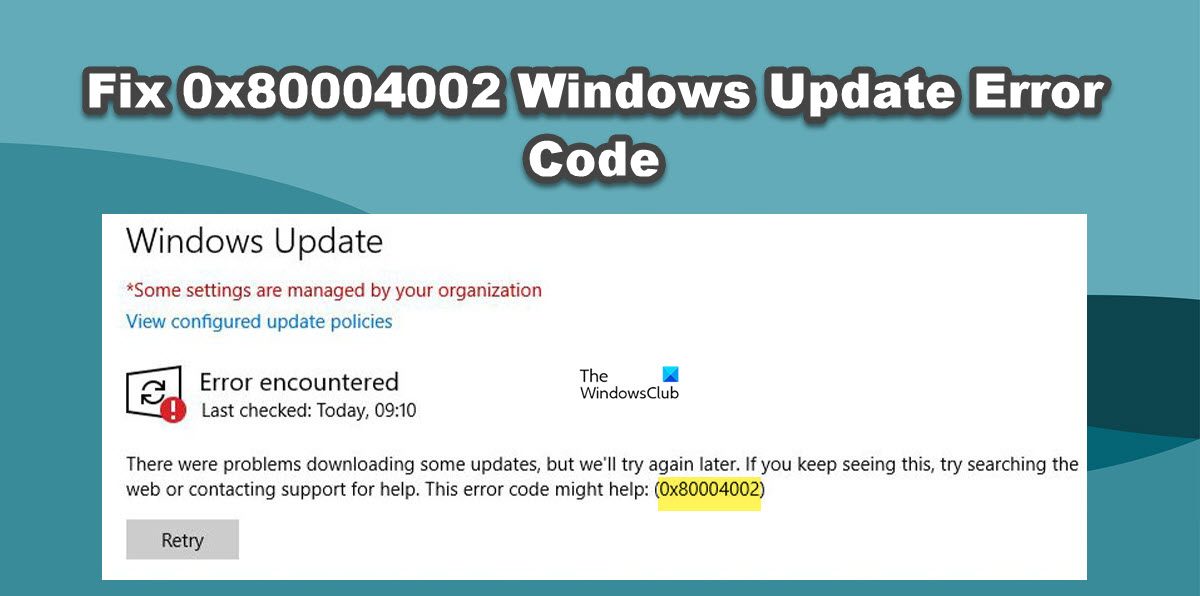
What causes Windows Update Error Code 0x80004002?
Windows Update Error Code 0x80004002 is usually caused when the Wups2.dll file gets missing. This is a Windows Update file that can be retrieved by repairing system files, we are going to see how to do the same after this. There are some other solutions and workarounds that we have mentioned after this that you can try.
Fix Windows Update Error Code 0x80004002
If you encounter a 0x80004002 Windows Update Error Code, try the following solutions and suggestions to resolve the issue. Let us talk about them in detail.
1] Run Windows Update Troubleshooter
First of all, we will try to run the Windows Update troubleshooter, which is a built-in utility capable of scanning and repairing Windows Update. So, since you are unable to update Windows, this tool should be able to know why this is happening and give you an option to fix it. To run the troubleshooter, follow the prescribed steps. Windows 11 Windows 10 Hopefully, this will do the trick for you.
2] Rename SoftwareDistribution and Catroot 2 folders
You may see the error code in question if some of your Windows Update files are corrupted. These corrupted files can serious trouble for you and stop your system from fetching the Windows Update. In order to resolve it, we are going to clear SoftwareDistribution and Catroot 2 folders. These folders contain information about Windows Updates and are likely to get corrupted. But first of all, open Command Prompt and execute the following commands. Once you have executed the commands, some Windows Update services will be disabled. Now, execute the following commands to rename SoftwareDistribution and Catroot2 folders. Finally, run the following commands to start the services we stopped earlier. You can now check for updates and see if your issue is resolved.
3] Reset Windows Update Components
Here is the summary of all the steps you need to take to reset Windows Update Components to defaults in Windows 11/10: TIP: Reset Windows Update Tool will restore settings & components to default automatically.
4] Make sure that Windows Update related Services are running
Open Windows Services Manager and check the Windows Update related Services like Windows Update, Windows Update Medic, Update Orchestrator Services, etc are not disabled. The default configuration on a standalone Windows 11/10 PC is as follows:
Windows Update Service – Manual (Triggered)Windows Update Medic Services – ManualCryptographic Services – AutomaticBackground Intelligent Transfer Service – ManualDCOM Server Process Launcher – AutomaticRPC Endpoint Mapper – AutomaticWindows Installer – Manual.
This will ensure that the required Services are available.
5] Use DISM to fix corrupted Windows Update files
If your Windows Update client is already broken, you can use a running Windows installation as the repair source or use a Windows side-by-side folder from a network share, as the source of the files. You will be required to run the following command instead:
Here you have to replace the C:\RepairSource\Windows placeholder with the location of your repair source. This post will show you how to fix corrupted Windows Update system files using DISM Tool.
We hope that you can resolve the issue using the solutions mentioned in this post. Read: Windows Update failed to install or will not download
How do I fix Windows Update Service error?
If you receive a Windows Update Service error, first of all, open Services and make sure that the Windows Update Service is running. If the service is running and you continue receiving the error, run the Windows Update troubleshooter to scan and repair the issue. Other than that, you can try the solutions mentioned in this post and see if that helps. Read: Error 0x80246017, We couldn’t install updates install using the account
What is error code 0xC1900101?
Error Code 0xC1900101 is a Windows Update error, it occurs when Windows isn’t able to update to the latest version, so, it rollbacks the OS to the previous version. It is usually caused due to lack of storage, but there are also some factors. We recommend you check our post on how to resolve Windows Update Error Code 0xC1900101. Also Read: Fix Error code 0xc1900101 on Windows Installation Assistant.

