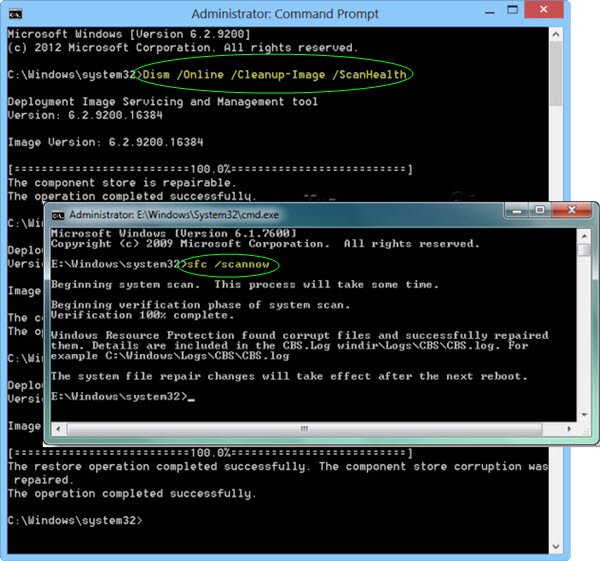
The System File Checker is integrated with Windows Resource Protection, which protects registry keys and folders as well as critical system files. If any changes are detected to a protected system file, the modified file is restored from a cached copy located in the Windows folder itself. You can use the DISM Tool or Deployment Imaging and Servicing Management to update the files and correct the problem. It can be useful if your System File Checker is not working, and it can also be used to fix Windows component store corruption or if a Windows image becomes unserviceable.
Should I run SFC or DISM first?
This is the way I look at this question. 1] Run System File Checker or SFC to fix any system file corruption from the resident component store. In an elevated CMD execute the following command: This does not require Internet access. If this not help, you may need to repair the Windows Component Store itself. 2] To do this, you need to Run DISM. In an elevated CMD execute the following command: This will fix any system image corruption from a Windows Update source. This may require internet access. This should resolve all issues. 3] Additionally if you feel, you may run SFC again. This will fix potential system file corruption from the newly repaired component store and verify that DISM was successful in repairing the errors. 4] DISM repairs the system file source cache in the WinSxS folder. This is the source that SFC pulls from, to repair system files if needed. Now if the system file source cache is corrupted and not fixed with DISM repair first, then SFC end up pulling files from a corrupted source to fix problems. In such cases, one needs to run DISM first and then SFC. Hope this helps! Incidentally, our freeware FixWin 10 for Windows 10 lets you run both SFC and DISM with the click of a button!
