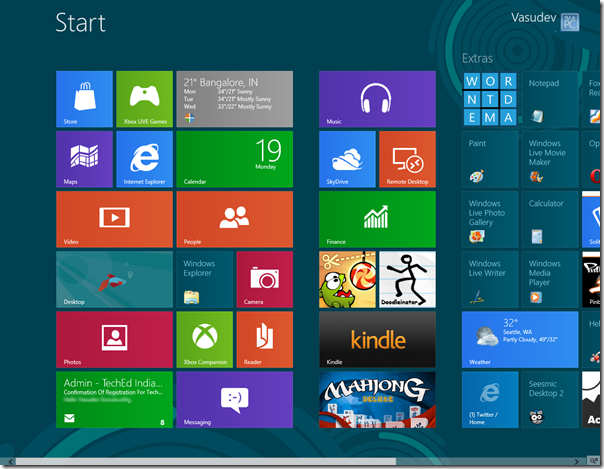
You will see that there are broadly 2 types of tiles. We can call them Metro or UWP app tiles and Non-metro or Classic app tiles. The Non-metro apps are simple ones with just the app names and their icon. Like for Paint, Notepad, Windows Explorer, etc. They are static square tiles. Microsoft has been partial to the Metro apps tiles. ;) They are the colorful, custom-designed ones – and some of them are Live tiles, which provide Live info and get updated. For instance, the one for the Mail App shows the message header of the new mails arrived or the Weather tile, which updates the weather. The Metro tiles can also be shown in 2 sizes: Small and Large. Moreover, you have the option to customize the app tiles. Here I have selected the Weather app, to show its various options like ‘smaller’, ‘turn Live tile off’ etc. To select an App, you have to right-click it – remember that. Just clicking on the app runs or opens it.
You can select multiple apps and the options shown will be the common ones. Similarly, you get various options, when you select a Non-Metro app. Here I have selected the Windows Live Writer App. You can see the various options available below at the bottom. Right-click again to close the options bar or de-select.
How to group Windows 8 start screen apps
Now if you want to group some of the apps together, just drag the app wherever you want to. And the tiles get adjusted automatically to accommodate the tile you are putting. To create a new group, drag them away from the group to show a vertical band for a new group and drop the tile there – it will be in the new group. A group can be identified as they have some more noticeable space between 2 groups. As here I’m dragging the Kindle app away and the vertical band is shown for a new group created.
To make it more clear, you can view these groups when you click on the Zoom out icon present in the bottom right corner.
So when you click on the ZoomOut icon, the Screen gets zoomed out and all the tiles & their group arrangement can be noticed. Here you can see 3 groups of Apps. 1st two groups don’t have any name while the 3rd is named as Extras. So let us see how to name a group.
How to name a Windows 8 apps group
When in the zoom-out stage, just move the mouse cursor over any group and that group gets highlighted, right-click on the highlighted group to get the ‘Name Group’ option pop out from the bottom of the screen.
In this way, you can name/rename a group. Similarly in the Zoomed out state, if you right-click on the screen (Not on the group) you’ll get the ‘All apps’ option.
When you click on it all the Apps are shown and the required ones can be pinned/unpinned to the Start screen.
Once they are on Start Screen, they can be put in any group. So these are some of the things on how to manage various app tiles on Start Screen, creating a group, naming a group and moving the apps around. Give it a try, It’s fun!