Add TPM to VMware Player Virtual Machine in Windows 11
To add TPM to VMware Player Virtual Machine in Windows 11, follow these steps: To learn more about these steps, keep reading. First, you need to shut down the virtual machine if it is already running on your computer and close the VMware Player app. Then, open the folder where you have stored all the files of the virtual machine. By default, it saves everything in the Documents Library folder. You can open that folder in File Explorer and go to Virtual Machines > virtual-machine-name folder. Here you can find some files, including a file named virtual-machine-name.vmx. For your information, it must be the same as the original virtual machine name. You need to open this file in Notepad. For that, right-click on the .vmx file, select the Open with option, and choose Notepad from the list. Alternatively, you can use any other text editing application as well. Once this file is opened on your computer, you need to scroll down to the bottom and enter the following line:
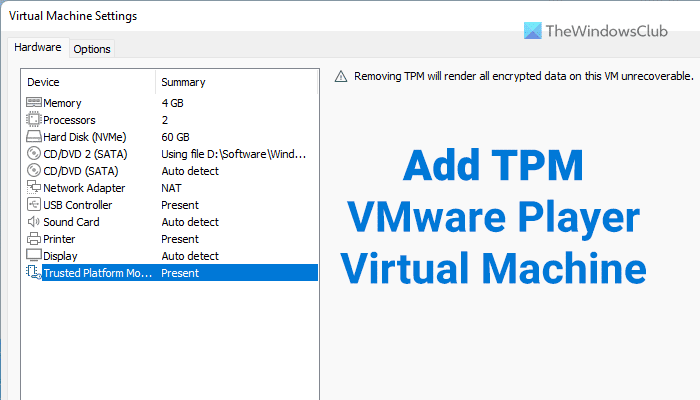
Then, press Ctrl+S to save the file. You can also go to File > Save to save the file on your PC. Once done, open the VMware Player app on your computer, select the virtual machine, and click on the Edit virtual machine settings option. Here you can find the Trusted Platform Module option. It must be set as Present in the settings panel.
Alternatively, you can run the virtual machine to find the same. Read: How to enable TPM in Hyper-V to install Windows 11
How do I install TPM 2.0 on the VMware Player?
To install TPM 2.0 on VMware Player, you need to access the settings panel of the virtual machine. In other words, you need to go through the .vmx file that gets included when you install the virtual machine on VMware Workstation Player on your computer. Whether you have installed it on Windows 11 or Windows 10, you can find the same options in both.
How do I enable TPM and secure boot on VMware to install Windows 11?
To enable Secure Boot on VMware virtual machine, you need to open the Settings panel first. Then, go to the Options section and switch to the Access Control tab. Then, click on the Encrypt button and go to the Advanced section. Following that, select the UEFI option and tick the Enable secure boot checkbox. Finally, click on the OK button to save the change. That’s all! Hope it helped. Read: How to Install Windows 11 on unsupported PC without TPM.